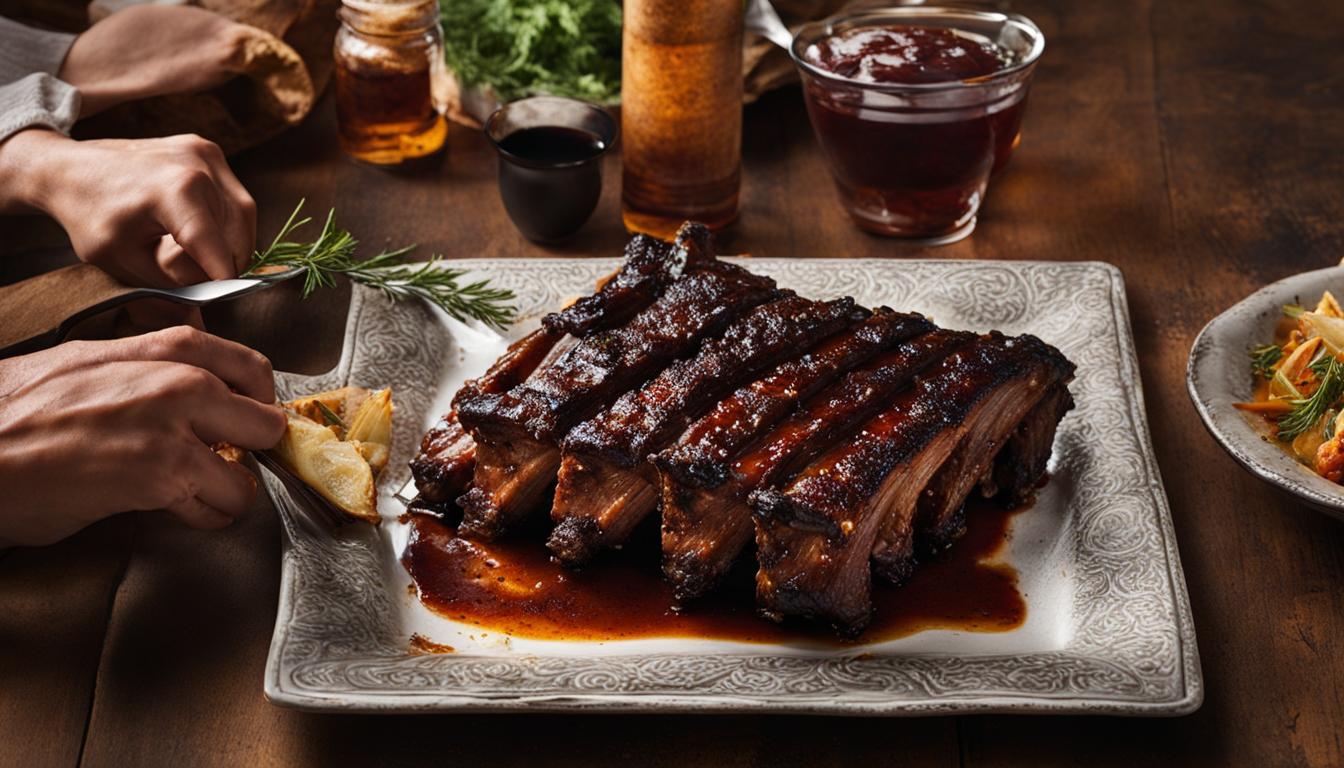
When I think about the heavenly taste of perfectly cooked ribs, I immediately want to recreate that experience with leftovers. That’s why I’ve spent considerable time exploring and mastering the best way to reheat ribs. Whether you’re savoring leftovers or bringing store-bought ribs back to life, my goal today is to share with you the sheer magic of various rib reheating methods that can deliver that restaurant-quality taste right from your kitchen. Through my journey, I’ve experimented extensively with reheating ribs in the oven and the transformative effects of reheating ribs on the grill, both delivering substantial flavor and succulence.
As an aficionado of all things barbecue, I can attest that BBQ rib reheating techniques I’m about to unveil are tried and true. From the smoky hints of charcoal-infused flavors to the melt-in-your-mouth texture that quality ribs are known for, you’ll learn all the secrets to ensure your leftovers are anything but left behind.
Key Takeaways
- Explore the art of rib reheating methods that retain the juiciness and flavor of the original meal.
- Understanding the best way to reheat ribs is crucial for both moisture retention and flavor enhancement.
- Gain insights into reheating ribs in the oven for gentle warming, as well as using the grill for that desirable smoky touch.
- Discover BBQ rib reheating techniques that make your leftover ribs taste freshly cooked.
- Learn the importance of slow cooking in low temperatures to ensure that each rib is heated to perfection.
- I’ll share vital tips on keeping your ribs moist and flavorful during the reheating process.
Introduction to Reheating Ribs for Maximum Flavor Retention
As someone who relishes the art of barbecue, I understand the vital importance of treating leftovers with care. Reheating BBQ ribs isn’t merely a matter of warming them up; it’s an art that ensures flavors remain vibrant and textures engaging. Today, I’m pleased to impart my insights on the rules for reheating ribs in a way that safeguards their smokey essence and preserves that sought-after juiciness. My pursuit of the perfect reheating method has been extensive, and I’m excited to share the accumulative knowledge that will keep your ribs tantalizingly tender.
When it comes to keeping ribs juicy, the secret lies in fostering the right environment for moisture. No one enjoys dried-out ribs, and with my tips for reheating ribs, you’ll discover just how seamless it can be to breathe new life into yesterday’s meal. Gathering the collective wisdom from experienced pitmasters and culinary experts, I’ve distilled the essence of what makes a rib reheating strategy successful.
The ultimate goal here is not to rewarm but to reinstate the ribs back to their prime state. Whether you’re sitting down to a plate of baby backs, spares, or St. Louis-style cuts, the approach fundamentally remains the same. By controlling the temperature and reapplying key flavors, we can revive the ribs from their chilled repose to a state of mouth-watering repast.
Let’s dive into what comprises the proper framework for an exceptional rib reheating experience.
- Preheating: As vital as the process itself, allowing the meat to ease away from the cold clutches of the refrigerator sets the tone.
- Temperature Control: Low and slow remains the mantra, echoing the original cooking process that bestowed such depth of flavor.
- Moisture Management: Surrounding the ribs with a cocoon of moisture lest they dry out, through strategic coverage or a bonus baste.
- Final Checks: Ensuring the ribs are not just heated but are safely cooked to an internal temperature that satisfies culinary standards.
Sustained by these principles, reheating succulent barbecue ribs emerges not as a chore or a task but an extension of the cooking ritual—a respectful nod to quality meat and the care it deserves long after the grill has cooled.
Throughout this exploration of the refuse of the ‘cue, we set a generative table to map the textural topography and flavor-infused vistas that proper reheating promises. Let’s step forward with reverence for the ribs, as we wield our kitchen implements not just with purpose but with passion, drawing ever closer to a repast reborn. And remember, the best reheated rib is not just a leftover; it’s a reminder of meals past and the anticipation of the delicious encore that awaits you.
Perfecting the Low and Slow Oven Technique
When it comes to reheating ribs in the oven, it’s not just about the heat—it’s about technique. The goal is to replicate that slow and tender cook that barbecue enthusiasts hold dear. To achieve this, the low and slow method is paramount. As someone committed to the craft of cooking, I follow a set of golden rules to ensure that every rib regains its former glory. Let’s delve into how I breathe new life into leftovers while keeping them succulent and flavorful, using a process that promises to elevate the reheating game.
Preheating Guidelines for Succulent Results
The foundation for reheating ribs to perfection is to start with the right oven temperature. A preheated oven at 220°F sets the stage for the ribs to gently warm up without the risk of overcooking or drying out. I’ve discovered that allowing ribs to reach room temperature before placing them in the oven ensures an even reheat, which is crucial for capturing that slow-cooked taste we all love.
Creating the Ideal Moisture Environment
Keeping ribs moist during the reheating process can be quite the challenge, but with a few rib moisture techniques, it’s certainly manageable. Wrapping the ribs tightly in aluminum foil is a step I never skip. It creates a steamy environment that locks in flavors and prevents moisture loss. When I want to amplify the taste, adding sauce for reheating by applying a fresh coat of BBQ sauce, a rub, or a vinegar “mop” also does wonders for keeping the ribs succulent.
My personal touch involves adding a little extra — something as simple as a few drops of water can give the ribs that much more tenderness. Not to mention, it’s an easy way to perk up those flavors that might have settled in the fridge.

Checking for the Optimal Reheating Temperature
Ensuring that my ribs are not only warmed but also safe to consume is an essential step. Using a meat thermometer to check that they’ve reached an internal temperature of 165°F gives me peace of mind. Plus, it confirms that each bite will be packed with enhanced flavors and primal, rib-sticking goodness—literally. This is what I call rib reheating safety, and it’s a fundamental aspect of my culinary protocol.
While I keep a vigilant eye on the clock, it’s the temperature, not just the time, which indicates when the ribs are good to go. Patience is a virtue in the quest for that fall-off-the-bone result we’re striving for.
To ensure you’re equipped with the knowledge for next-level leftovers, I’ve compiled some of my tried-and-tested tips in a handy reference. Behold, the ultimate blueprint for transforming refrigerated ribs into extraordinary encore performances.
| Tips | Description | Benefit |
|---|---|---|
| Room Temperature | Let ribs sit out to reach room temperature before reheating. | Ensures even heating. |
| Preheat Oven | Set the oven to 220°F for low and slow reheating. | Preserves taste and texture. |
| Moisture Addition | Brush with sauce or add a bit of water before wrapping in foil. | Maintains juiciness. |
| Wrap Tightly | Ensure ribs are sealed in foil to contain smoke and juices. | Locks in flavor and moisture. |
| Temperature Check | Verify the internal temperature of ribs reaches 165°F. | Confirms safety and doneness. |
Backed by experience and honed through countless sessions beside the oven, this low and slow approach isn’t just a method—it’s my manifesto. As we continue our exploration of the wonders of reheated ribs, keep these insights close, and you too will savor the sweet, smoky embraces of reheated ribs that mimic their freshly cooked counterparts.
Unlocking the Secrets of Grilling for Smoky Perfection
As an enthusiast of all things cooked on the grill, I’m passionate about sharing the artistry behind grilling for smoky ribs. After experimenting with various grill reheating techniques, I’ve unearthed some quintessential practices that promise to infuse reheated ribs with a smoky flavor that truly competes with their initial grilling.
Here’s my guide to reheating ribs on the grill for achieving that authentic barbecue essence. I always start by preheating the grill to high, allowing it to reach its full potential in terms of heat. This step is critical not only for searing the meat but also for instilling that distinctive grill-marked appearance we all crave on our ribs.
Once satisfied with the searing temperature, I reduce the heat to a medium setting to welcome the ribs. This transition is crucial; it prevents the direct heat from snatching away the ribs’ inherent moisture, averting an overly dry texture.
But before I bestow the ribs onto their fiery throne, I ensure they’re cloaked in a veil of moisture. A generous application of sauce or a simple sprinkle of water—whatever the mode, the essence lies in the maintenance of moisture. To achieve this, I often find myself wrapping the ribs in a foil pocket—a technique that not only preserves the ribs’ juiciness but also aids in capturing that peak smoky flavor within its humid haven.
All these methods exist in harmony to ensure the ribs emerge from the grill not just heated, but revitalized, with a savor as robust as their first encounter with the flame. Below is a table that encapsulates these key grilling techniques which I meticulously abide by:
| Method | Detail | Purpose |
|---|---|---|
| Preheat Grill | Ignite to a high temperature. | Prepares the grill for searing the ribs. |
| Moisture Maintenance | Apply sauce, rub, or water for hydration. | Ensures the ribs remain moist during the grilling process. |
| Wrapping Technique | Encase ribs in a foil pocket before grilling. | Protects ribs from direct heat and locks in smoky flavors. |
| Temperature Adjustment | Lower the heat to medium after searing. | Provides a balanced environment for reheating without drying out the meat. |
To encapsulate this method in a practical sequence:
- Preheat your grill to its peak temperature for an initial sear.
- Moisturize the ribs using your preferred choice of flavorants.
- Wrap the ribs in a foil pocket to seal in that moisture and flavor.
- Reduce the grill’s heat to medium to delicately reheat the ribs to perfection.
In my quest to serve the ultimate reheated ribs, I’ve found that embracing these techniques not only preserves the ribs’ flavor and juicy character but also augments them, gifting a second life to a meal forged by fire. Ensuring these practices are part of your grilling ritual will confidently lead your ribs back to the splendor of their smoky origins.
Savoring the Sauce: Tips for Keeping Ribs Juicy
I’ve discovered that the key to reheating ribs that stay moist and tender lies in the judicious use of sauces and marinades. The right sauce for reheating ribs can make all the difference, not just for flavor, but also for ensuring that ribs don’t dry out in the reheating process. As we explore the world of BBQ sauces and marinades, keep in mind that each choice can distinctively alter the taste profile of your ribs.
Choosing the Right Sauce or Marinade
When selecting a marinade for ribs, I consider the flavor profile of the sauce just as much as its moisture content. A sauce with a good balance of acidity, sweetness, and savoriness doesn’t only add character to the ribs but also infuses them with the necessary moisture to stay juicy. Whether sticking with a classic BBQ sauce or daring to try a new concoction—an adventurous BBQ sauce tip is to pair sauces and meats based on their complementary flavors.
Brushing Techniques for Even Coverage
Another secret from my personal BBQ playbook pertains to the application of sauce. Brushing techniques for ribs should not be underestimated—uneven coverage can lead to parts of the ribs drying out. Brushing not only serves as a method for incorporating flavor but also acts as a moisturizing agent during the heating process. Here’s how I ensure even sauce coverage:
- Start with a clean, high-quality basting brush.
- Apply a generous base layer of sauce to all sides of the ribs.
- Use gentle, even strokes to spread the sauce, covering every inch.
- Allow the sauce to seep into the meat before adding a secondary layer, if desired.

With these methods, you’re not only locking in flavor; you’re also creating a protective barrier that keeps the ribs tender. And now, to give you a clearer picture, I’ve outlined the precise steps that I follow in the table below to maintain the juiciness of ribs through the power of sauce:
| Step | Action | Purpose |
|---|---|---|
| 1 | Warm sauce/marinade slightly before brushing | Enhances spreadability and penetration into the meat |
| 2 | Brush sauce evenly across the rib’s surface | Promotes consistent flavor and moisture during reheating |
| 3 | Allow for resting time post-brushing | Encourages absorption for maximum juiciness |
| 4 | Add a fine mist of water if the sauce thickens too much | Maintains desirable sauce consistency |
These rib reheating tips may seem trivial, but once implemented, the difference they make is substantial. I can earnestly say that applying sauce effectively is a craft in itself—one that can dramatically elevate your rib reheating experience.
Avoiding Common Pitfalls: Why Microwaves Can Ruin Your Ribs
As someone who has a deep respect for the craft of cooking ribs, I’ve come to learn that the convenience of microwaves doesn’t align with preserving rib quality. While it’s tempting to use this quick and easy method, I must emphasize the pitfalls of microwaving ribs. The microwave, a marvel of modern technology for many dishes, can sadly become the downfall of a delightful rib experience.
Understanding the repercussions of reheating ribs in the microwave is crucial for every BBQ lover. Microwaves work by exciting water molecules, causing friction and heat; this can result in uneven heating and more critically, the loss of moisture that is the essence of a delectable rib. The chances of ending up with tough, rubbery, and less flavorful ribs are substantially higher when taking this shortcut.
It’s not only about the taste; it’s equally about texture and preservation of the cooking craft. The microwave’s intense and irregular heat waves can rob the ribs of their succulence, leaving a seasoned BBQ enthusiast like myself with a heavy heart—and a less-than-satisfactory plate. Hence, when considering reheating ribs in the microwave, it’s wise to take a step back and contemplate alternative methods that honor the original slow-cooked splendor.
| Method | Impact on Rib Quality | Result |
|---|---|---|
| Microwave | Rapid heating can dry out and toughen meat | Subpar texture and diminished flavor |
| Oven | Gentle, consistent heat promotes even warming | Juicy, tender ribs with intact flavors |
| Grill | Direct heat can enhance smoky flavor | Crispy exterior with a moist interior |
In my pursuit of the perfect reheating method that takes time and care, I’ve consistently found the microwave to be outdone. The table above starkly contrasts the effects of various reheating methods, underscoring the superior results of more traditional approaches like the oven or grill. In my understanding and strategy for reheating ribs in the microwave, it is presented as a cautionary tale—sharing insights that detour us from a path that leads away from culinary excellence.
- Avoid excessive dryness by steering clear of the microwave.
- Maintain flavors by choosing reheating techniques that resemble the cooking method.
- Prioritize texture and juice retention through gradual heating.
In conclusion, while I am an advocate for innovation in the kitchen, my experiences have imparted one clear lesson: the microwave is not the friend of high-quality rib reheating. The art of BBQ is founded on patience and precision—so I say, let’s honor that tradition by selecting methods that are a testament to preserving the soul-satisfying essence of a beautifully cooked rib.
Alternative Rib Reheating Methods: Smoker, Toaster Oven, and Sous-Vide
While the most common methods for reheating succulent ribs are undoubtedly ovens and grills, I’ve honed my rib revival skills with some alternative rib reheating methods that might just change your leftover game. These methods not only offer versatility but also cater to those who might be looking for that extra edge in flavor or tenderness. For those seeking to infuse their ribs with that unforgettable smoky flavor or to achieve the ultimate precision in temperature control, the use of a smoker or sous-vide are unparalleled choices.
Let’s delve into why these alternative rib reheating methods could become your new favorites:
- Smoker: There’s nothing quite like the deep, penetrating smoky taste a smoker can impart on reheated ribs. For enthusiasts seeking that distinct barbecue essence without the hassle of starting from scratch, utilizing a smoker for reheating ribs provides a tantalizingly close experience to fresh off the grill.
- Toaster Oven: Despite its size limitations and variance in cooking times, a toaster oven can serve as a quick-fix when traditional methods are out of reach. It’s a workaround that demands close attention to avoid overcooking, however, it can be especially useful for reheating individual rib pieces rather than a full rack.
- Sous-Vide: The sous-vide method has become a staple for cooking meats to perfection, and it translates superbly when applied to reheating ribs. With the ability to sous-vide ribs, maintaining the moisture and locking in flavor becomes almost effortless, and the end result is consistently on point — ribs that are tender and heated evenly throughout.
These methods aren’t just alternatives; they’re exceptional strategies in their right. Now to make it clear just how each method stands out, I’ve laid out a comprehensive table detailing the attributes and benefits:
| Method | Special Attributes | Key Benefits |
|---|---|---|
| Smoker | Restores smoky flavor without starting from scratch | Enhanced taste reminiscent of original grilling |
| Toaster Oven | Compact and convenient for small quantities | Useful for individual pieces, quick reheat option |
| Sous-Vide | Precision temperature control | Moisture retention, even heating, tenderness assured |
For those who value the taste of tradition but relish a modern twist, a smoker is the way to go; it preserves the ribs’ heritage while refreshing it. And in moments when you’re faced with time constraints or equipment limitations, the toaster oven can be your saving grace as long as you practice vigilance. However, when my goal is excellence in texture and flavor with no room for error, sous-vide ribs rise to the occasion, ensuring every piece emerges impeccably heated through and through.
Last but not least, let us not overlook the power of the right flavor pairing. Whether it’s a matching sauce or a complementary rub, aligning your reheating method with your desired taste profile is essential for that perfect rib experience. Embracing these alternative rib reheating methods will surely elevate your ribs, making them a dish to remember with each reheating.
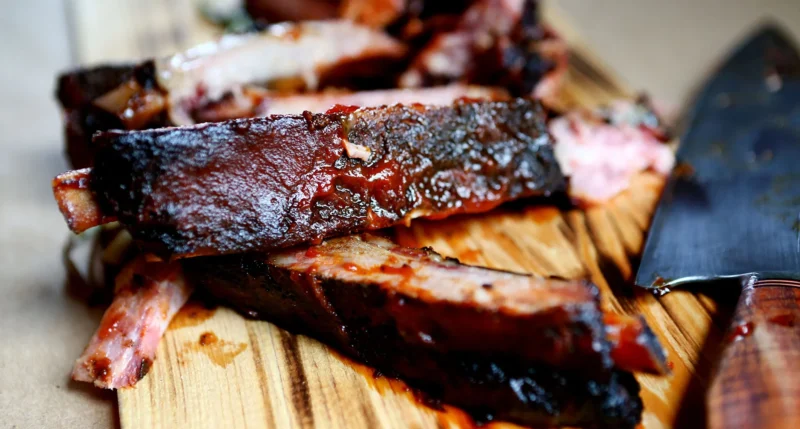
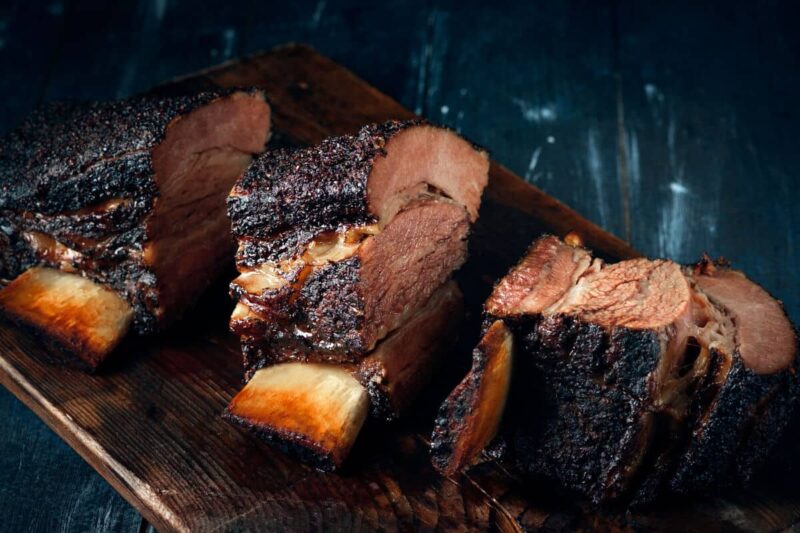
Breaking Down the Ribs: Benefits of Reheating Individual Pieces
In my pursuit of culinary excellence, I’ve found that breaking down ribs for reheating individual pieces carries significant advantages over warming up an entire rack. Whether I’m working with fall-off-the-bone baby back ribs or hearty St. Louis-style selections, separating them allows me not only to ensure they’re heated thoroughly but also maintains the integrity of their delectable crust and tender interior. I’m keen to impart the many benefits of reheating individual rib pieces so that your next rib feast is as memorable as the first.
Consistency, convenience, and control; these are just a few of the compelling reasons to embrace this reheating method. By focusing on individual rib pieces, we tap into a method that cooks uniformly, allows for easier management, and prioritizes the rib’s inherent flavor and texture. These benefits are not mere observations but have become essential aspects of my reheating routine, and here’s why:
| Benefit | Description | End Result |
|---|---|---|
| Uniform Heating | Heat penetrates each rib piece evenly without the challenge of reheating thicker sections that come with a full rack. | Ensures every bite is equally warm and succulent. |
| Time Efficiency | Individual pieces reach the desired internal temperature faster compared to a whole rack. | A quicker path to enjoying your meal. |
| Moisture Control | Less exposure to heat reduces the risk of drying out, and individual ribs can be easily sauced or seasoned. | Retains the ribs’ natural juices for an irresistible texture. |
| Flavor Enhancement | Applying rubs and sauces to each rib promises more surface area coverage and penetration of flavors. | Provides a richer, more robust taste experience. |
| Portion Management | Reheating only the number of rib pieces required minimizes food wastage. | Allows for better meal planning and resource utilization. |
As a devoted rib enthusiast, I revel in the process of gently reheating each piece to its optimal state. Whether I choose the oven, grill, or even innovative methods like sous-vide, the individual approach ensures a result that rivals any freshly-prepared rack. With each piece meticulously monitored during the reheating cycle, the satisfaction of enhanced taste and texture becomes a predictable delight.
- I revel in the visual inspection of each rib, guaranteeing the perfection of the char and the crispness of the glaze, essential elements often compromised when reheating en masse.
- I am empowered by the ability to rotate and maneuver pieces to my exact preference and avoid the pitfalls of uneven reheating.
- I am gratified by the knowledge that each guest can be served precisely without the messy business of dividing up a rack post-heating.
The choice to break down ribs for reheating is not just a matter of personal taste; it’s the selection of an aficionado who values the apex of BBQ ribs’ potential. I trust that incorporating these insights will embolden you to adopt breaking down ribs as part of your own reheating ritual. Meticulously heed these details, and I assure you, the rewards will resonate with every tender, perfectly-warmed bite of rib you savor.
Pairing Side Dishes: Complementing Your Reheated Ribs
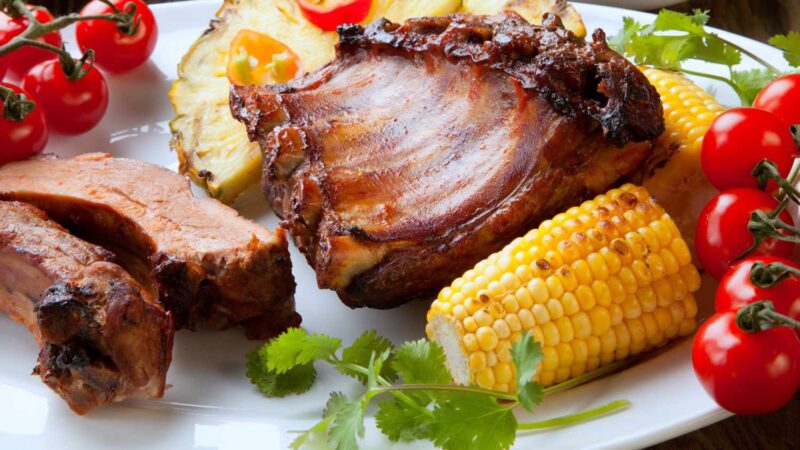
As a barbecue enthusiast, I’ve come to appreciate that a rib meal pairing can elevate the entire culinary experience. The art of complementing reheated ribs with the ideal side dishes for ribs is like composing a symphony, where each accompaniment harmonizes with the smoky, savory notes of the tender meat. Achieving the right balance between the rich flavors of ribs and the sides that support them is a stepping stone towards an unforgettable meal.
The key to selecting the perfect side dishes is to find flavors and textures that complement but don’t overshadow the main attraction—reheated ribs. Whether I’m enjoying my ribs with a tangy sauce or a sweet glaze, I ensure that the side dishes I choose will round out the meal, adding contrast and freshness to each bite.
Let me guide you through some of my top picks for side dishes that promise to enhance your rib meal pairing, taking an average dish to the realm of the extraordinary.
Classic Cornbread: A Timeless Favorite
There is perhaps no side dish more synonymous with ribs than classic buttermilk cornbread. It’s a timeless choice that brings a subtle sweetness and a comforting texture, balancing the boldness of BBQ’s smoky flavors. Perfect for sopping up those delectable sauces, cornbread stands as a pillar in the pantheon of rib side dishes.
Refreshing Salads: Lighten the Meal
A simple, crisp salad can act as the refreshing counterpoint to a rich, meaty dish. The crunch of fresh vegetables dressed in a zesty vinaigrette wakes up the palate between bites of succulent reheated ribs. I find that salads, with their varied ingredients and potential for infinite customization, are an enduring ally in rib meal pairing.
| Side Dish | Flavor Profile | Texture | Complementary Effect |
|---|---|---|---|
| Buttermilk Cornbread | Sweet, rich | Soft, crumbly | Absorbs sauce, contrasts smoky ribs |
| Simple Green Salad | Fresh, tangy | Crunchy, refreshing | Balances richness, cleanses palate |
| Coleslaw | Tart, creamy | Crisp, crunchy | Cuts through fat, adds texture |
| Grilled Vegetables | Smokey, charred | Tender, smoky | Complements grilling flavor profile |
| Mac and Cheese | Cheesy, creamy | Smooth, gooey | Comforting counterpart, creamy texture |
The art of choosing the right side dishes for ribs lies not only in taste but also in providing a contrast in texture. For instance, the creamy smoothness of a well-made mac and cheese or the tangy crunch of coleslaw can play beautifully against the fall-off-the-bone tenderness of a rib, creating a symphony of textures that delights the senses.
- I revel in finding the perfect balance between warm, creamy sides and the refreshing crunch of a vegetable dish.
- I believe that the smokiness of grilled vegetables can echo the depth of flavors found in barbecued meats, thus reinforcing the overall theme of the meal.
- I can’t help but indulge in the hearty, comfort-food qualities of potatoes, whether baked, roasted, or mashed, each bringing its richness to the plate.
In sum, the perfect side dish complements and accentuates the main event without competing for the spotlight. By carefully selecting accompaniments that harmonize with the reheated ribs, we transform a simple meal into an extraordinary culinary experience. Bon appétit!
Conclusion: Mastering Rib Reheating for a Delectable Encore
My exploration into the realm of mastering rib reheating has been a journey filled with smoky whispers and savory revelations. I’ve shared the wealth of my experience with you, from the low and slow oven method to the smoky grill technique, each with their unique assurances for moisture retention, flavor preservation, and that fleeting but unforgettable sensation of a first bite. Delivering on the promise of succulent, mouthwatering leftover ribs is not just an achievement—it’s an homage to the original craft of barbecue.
As we wrap up our culinary journey, my final thoughts on how to reheat ribs are rooted in a sincere passion for the art of BBQ. Whether it’s the whispering heat of an oven or the embracing warmth of a grill, the path to rib excellence requires patience, attention to detail, and an unwavering commitment to quality. The narrative I’ve spun is not just one of process, but also of pleasure—the delight of sinking your teeth into a rib that tastes as though it’s just been kissed by flame once more.
I leave you now with the conviction that reheating ribs can replicate, if not enhance, the gastronomic pleasure of their initial serving. In your hands lie the savory secrets and smoky wisdom to ensure that not a single rib falls short of its potential for a second act. As you apply these insights in pursuit of that perfect BBQ experience, may your ribs always emerge from the kitchen not as mere leftovers, but as the centerpiece of a meal revived and fervently savored anew.
FAQ
What is the best way to reheat ribs to preserve their flavor and moisture?
The best way to reheat ribs while maintaining flavor and moisture is by using a low and slow reheating technique in the oven. Preheat your oven to around 220°F (104°C), apply a fresh coat of BBQ sauce or a moisture-preserving rub, wrap the ribs tightly in foil, and heat them until they reach an internal temperature of 165°F (74°C). This method closely mimics the slow cooking process and helps to prevent the ribs from drying out.
Can I reheat ribs on the grill to get a smoky flavor?
Yes, you can reheat ribs on the grill to add a smoky flavor. Preheat the grill to a high temperature and then lower it to medium heat. Ensure the ribs are moistened with sauce or a vinegar “mop” and wrap them in a foil pocket to protect them during reheating. Monitor them closely to prevent drying out and to achieve a flavor similar to the original smoking process.
Are there any specific rules for reheating BBQ ribs?
When reheating BBQ ribs, it’s important to first allow the ribs to come to room temperature for more even cooking. Maintaining a low oven temperature or controlled heat on the grill is crucial to prevent drying out. Always use moisture-retaining techniques such as saucing or wrapping in foil, and ensure the ribs reach an internal temperature of 165°F for safe consumption.
How can I add sauce to my ribs when reheating without ending up with a mess?
To add sauce to your ribs during reheating without making a mess, apply the sauce evenly with a basting brush. Do this before wrapping the ribs in foil, which will help the sauce to caramelize and penetrate the meat, enhancing the taste and maintaining moisture. Remember to use the sauce sparingly to prevent overwhelming the natural flavors of the ribs.
Why is using a microwave to reheat ribs not recommended?
Using a microwave to reheat ribs is not recommended because it often leads to an uneven reheating process, which can result in rubbery texture and dryness. Microwaves can also strip away the smoky flavors that are key to a delicious rib experience, making other methods, like using an oven or grill, more preferable.
What are alternative methods to reheating ribs if I cannot use an oven or grill?
If an oven or grill is not available, consider reheating ribs using a smoker to reintroduce a smoky flavor, or a sous-vide method for precise temperature control and to retain moisture. A toaster oven can also be a last resort, though not ideal, due to its size constraints and varying cooking times.
Should I reheat a full rack of ribs or break them into individual rib pieces?
Reheating individual rib pieces allows for more control over the heating process and ensures that each rib heats evenly. This can be more convenient and could lead to a better overall texture and flavor compared to reheating a full rack at once, especially if you’re using a microwave or a toaster oven.
What side dishes should I serve with reheated ribs?
Serve side dishes that complement the rich and smoky flavors of reheated ribs. Options like buttermilk cornbread, a fresh salad, coleslaw, grilled vegetables, or macaroni and cheese can balance the meal and enhance the enjoyment of the ribs.
How do I ensure my reheated ribs are safe to eat?
To ensure that your reheated ribs are safe to eat, always heat them to an internal temperature of at least 165°F (74°C). Use a meat thermometer to check the temperature at the thickest part of the rib to confirm it’s reached the required heat.
How can I prevent my ribs from drying out while reheating?
To prevent ribs from drying out during reheating, use a low temperature for a longer duration, keep them wrapped in foil to hold in moisture, and apply additional sauce or a vinegar-based mop. Additionally, adding a small amount of water before sealing the foil can help create steam and retain moisture.
Source Links
- https://www.themanual.com/food-and-drink/how-to-reheat-ribs-in-the-oven/
- https://pitmaster.amazingribs.com/forum/the-pit-mastery-program/porknography-ribs-pulled-pork-ham-etc/556448-suggestions-to-reheat-pork-ribs
- https://alexandracooks.com/2010/04/08/the-easiest-best-ribs-you-will-ever-make-delicious-buttermilk-cornbread/